Always follow the proper procedure and take necessary precautions before starting to work on your project. If you’re remodeling a room or building a new home, electrical wiring installation is as important as the foundation of a house. DIY methods are not always the solution, and professional companies like Sargent Electric Co. are here to help with your wiring project.
Step-by-Step Electrical Wiring Installation Process
Before directly proceeding with the process, it is best to sit back and plan everything so your wiring project has a direction and finishes quickly. Analyze the electrical appliances in your room or entire home, as every appliance requires a different solution. Like your AC or heater may require separate wiring and circuits from the rest.
Let’s go through the entire process in detail:
- Get Permits and Follow Guidelines
Always follow the NEC (National Electrical Code) guidelines before starting your electrical wiring installation project. It covers a wide range of topics and is used by electricians, building contractors, and electrical engineers for compliance purposes.
- Buy Essential Tools
You can’t begin your project without a set of necessary tools; it’s like trying to swim on grass. Make sure to stock up on necessary tools like electrical cables, screwdrivers, and voltage testers, etc. You’ll need other tools like fish tape and wire strippers, etc, they can be purchased online or from a nearby local depot.
- Installation of Electrical Boxes
Make sure to mark the spot where you want to install the electrical box, as they act as enclosures for your electrical wires or switches. Cut a hole in the drywall and use wire connectors to secure connections between wires and appliances.
Choosing the right electrical wires
Now it’s time to put electrical wires into your walls so your electrical appliances can get electricity and start working. There are different types of electrical wires, like 14, 12, and 10 gauge, but a small number equals thick wire, which means more power.
- Drill Holes In The Wall
You will need to drill holes to run wires through walls, mostly through wooden beams, and make sure not to drill on the edges to avoid hitting the wire with screws later.
- Use U-shaped clips to staple the wires
Once you have run the wire through holes to make sure it is not just hovering around, use U-shaped clips to staple them to the wood gently, as force can crush the wire.
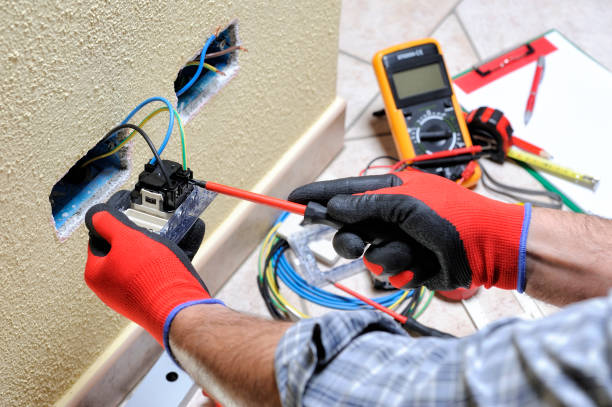
- Connecting The Wires With Outlets
Use the wire stripping tool to remove the plastic coating at the end of electrical wires. Always match the wire colors as red wires go to the brass screw, white wire goes to the silver screw, and green wire goes to the green screw.
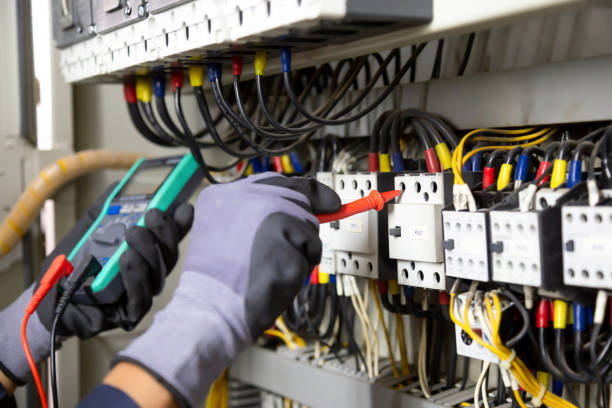
Installing the Circuit Breaker Panel
A circuit breaker panel is like the electricity headquarters for your home, as every wire gets electricity directly from here. If you’re dealing with circuit breaker installation, always take extra precautions.
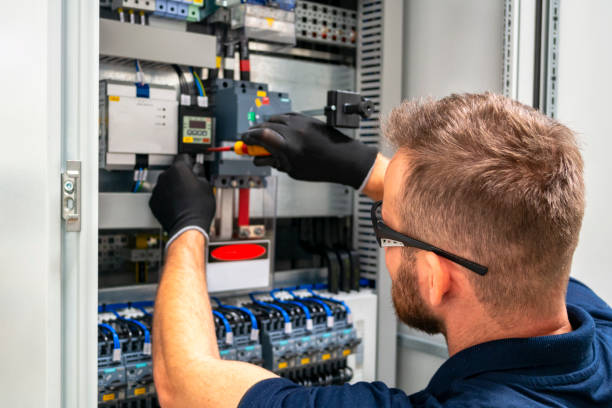
- Mount The Panel
Bolt the panel to the wall and make sure to choose a dry spot like a basement to avoid any future mishaps.
- Add The Breakers
Each breaker is responsible for a separate area or a specific appliance, so make sure the breaker size matches the wire gauge.
- Connect The Wires
This part is extremely dangerous, so it is advised to get professional help instead of trying to do it yourself. Connect the black/red wire to the breaker screw, white wire to the neutral bar, and ground wire to the ground bar.
- Use a Voltage Tester for Safety
Before you turn anything on, use the tester to make sure there’s no electricity running through the wires you’re handling.
- Flip The Breakers
After turning on the main panel, flip each breaker individually to make sure all lights and appliances are powered up and the breakers are not tripping immediately.
Conclusion
Electrical wiring installation is complex, and if you have no idea how to do it safely, then getting professional help is strongly advised. DIY methods might help you save a bit of money, but it’s not worth risking your life or your property, so make sure to go through NEC (National Electrical Code) guidelines before starting your project. Get all the tools, plan how you will proceed, and after reading this guide, you should be able to complete your wiring installation project.
FAQs
What tools are essential for a home electrical wiring project?
Electrical cables, screwdrivers, and voltage testers are a few of the essential tools required for a home electrical wiring project.
What are the steps to install electrical boxes and connect appliances safely?
Cut a hole in the drywall and use wire connectors to secure connections between wires and sockets.
How do I properly drill and staple wires through walls without causing damage?
You will need to drill holes to run wires through walls, and make sure not to drill on the edges to avoid hitting the wire with screws later. Use U-shaped clips to staple the wires.
What is a circuit breaker panel, and how is it installed?
A circuit breaker panel is like an electricity headquarters for your home, and for installation, mount the panel, add the breakers, and connect the wires.
Is it safe to do electrical wiring myself, or should I hire a professional?
If you have never dabbled with electrical wiring in your life, make sure to get professional help for the safety of your home and yourself.